How to use GM MDI with Toyota Techstream?
Here’s the tutorial on how to use GM MDI (Multiple Diagnostic Interface) with Toyota Techstream software. This is not necessary because the MINI VCI passthru cable is very cheap for techstream. The guide is for those who are interested in finding a good mvci alternative.
Disclaimer: You are at your risk. We are not hold the responsibility for the damage.
Instruction:
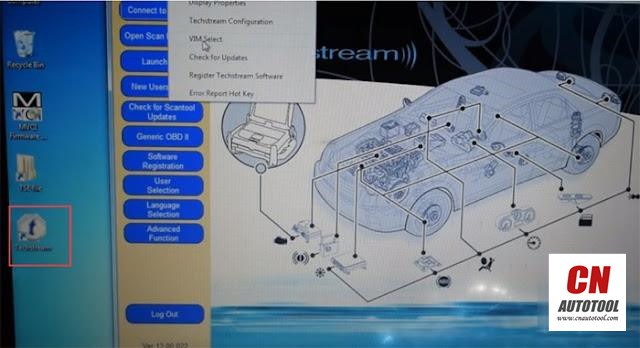
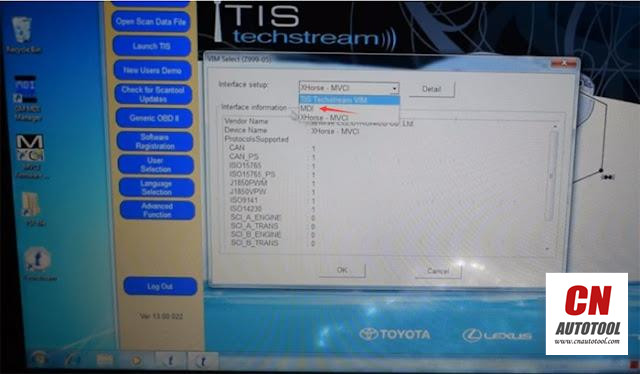
Techstream has only 2 default pass-thru device selection options: TIS Techstream VIM and Xhorse MVCI
So first step we need to add MDI to the VIM selection.

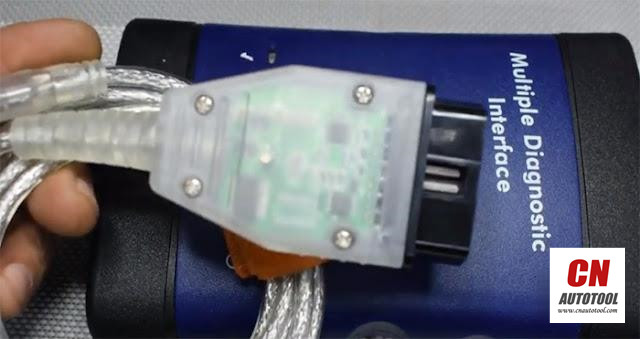
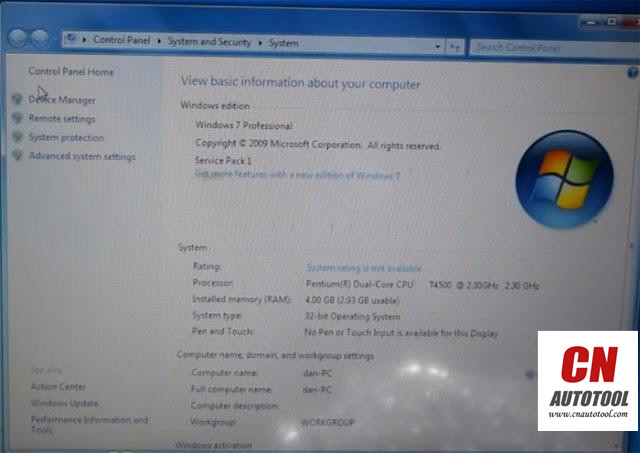
Connect GM MDI interface with vehicle (here we use Windows 7 machine) via USB cable
MDI supports WiFi connection as well, but obviously we need to use USB connection here
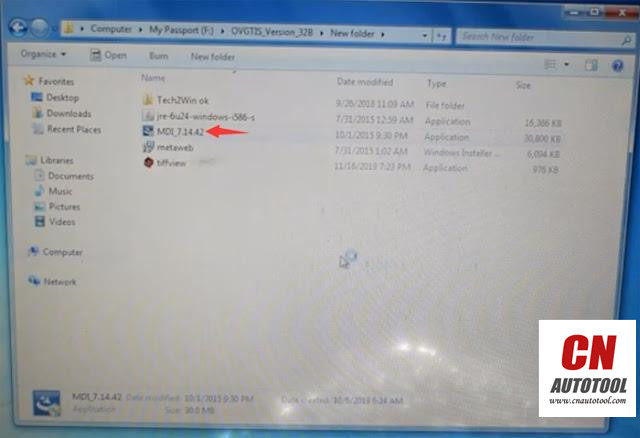
Go to MDI software folder and find MDI Manager driver
Install MDI Manager driver setup

Install the GM MDI Software InstallShield Wizard
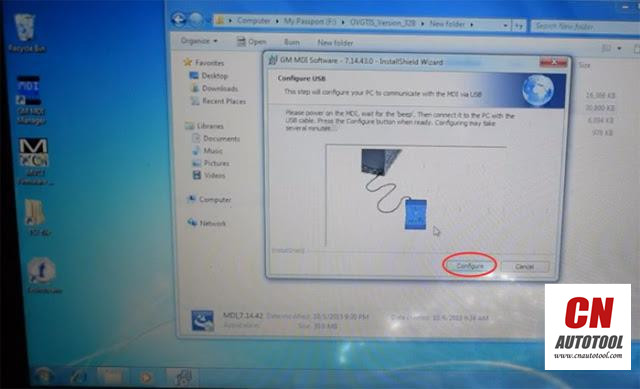
Configure USB
Power on the MDI, wait for the “beep”. Ten connect it to the PC with the USB cable(already connected it).
Press the Configure button when ready. Configuration may take several minutes.
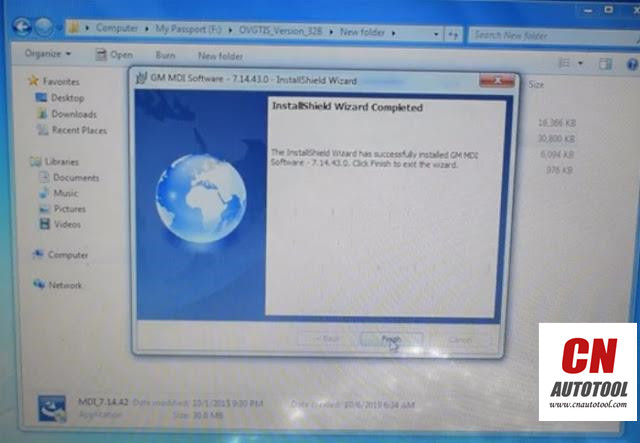
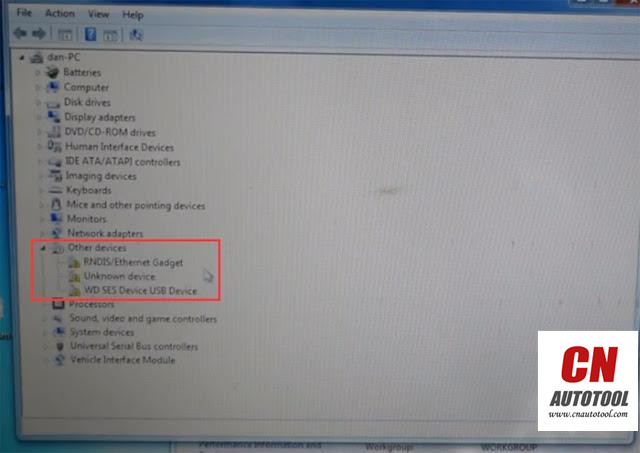
Finish installing MDI driver.
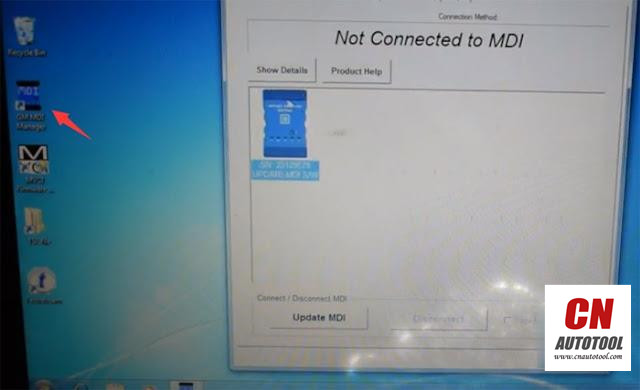 Open GM MDI Manager on desktop
MDI is not yet connected
Open Techstream software (here use Ver. 13)
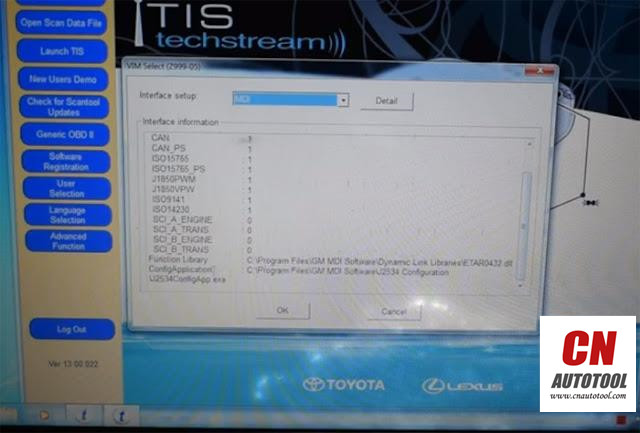
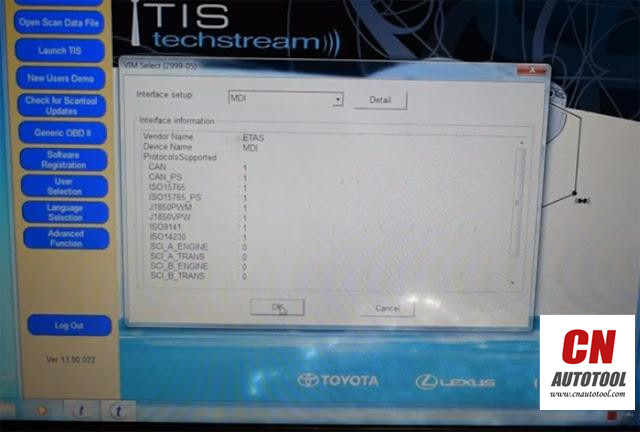
Now the MDI passthru is added to the VIM selection
Select MDI interface and press OK
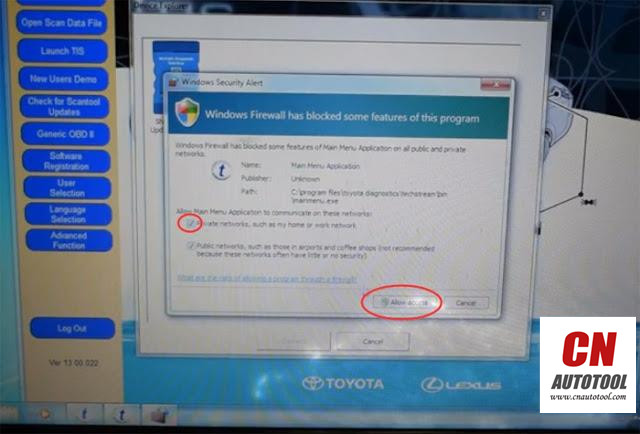
Accept Windows Security Private networks and allow access
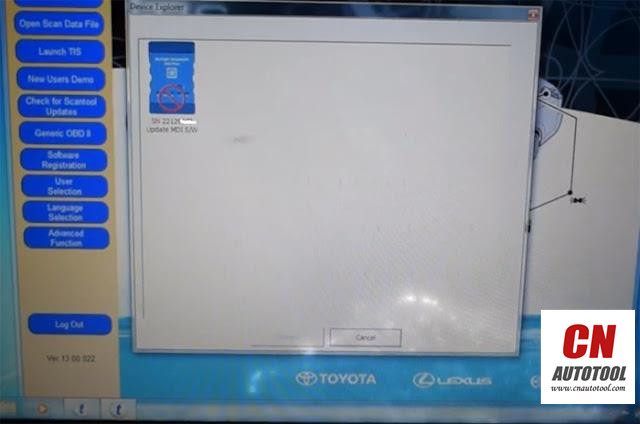
MDI not connected (require configuration)
Open GM MDI Manager on desktop again
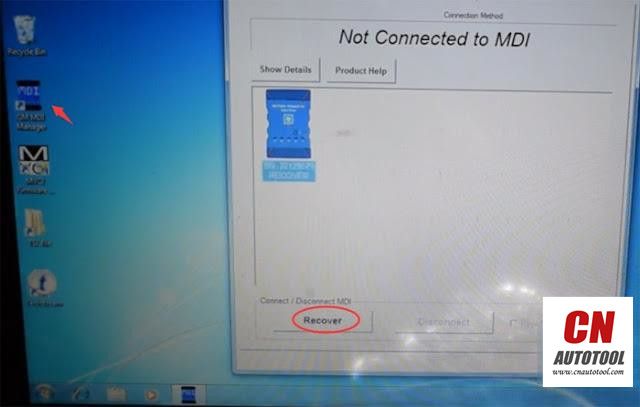
System prompts no MDIs detected
It require to recover MDI, press Recover button
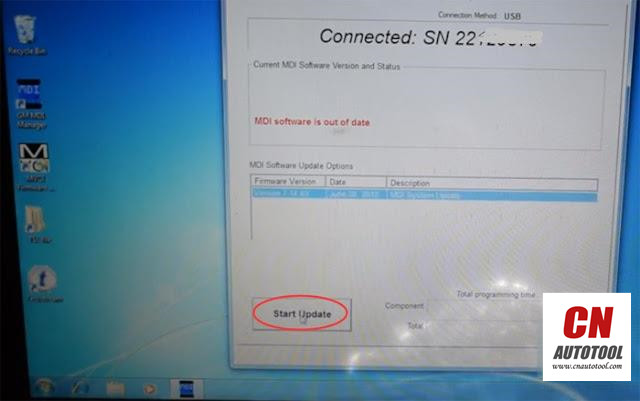
If it warns MDI software is out of date. Run Start Update
Do not unplug the MDI from the PC or remove power from the MDI during the update process.
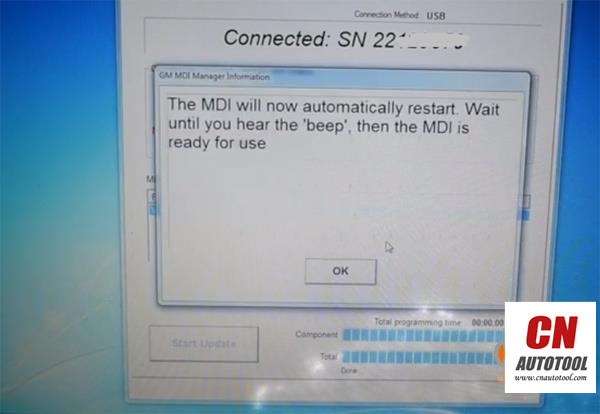
The MDI will automatically restart when update completed
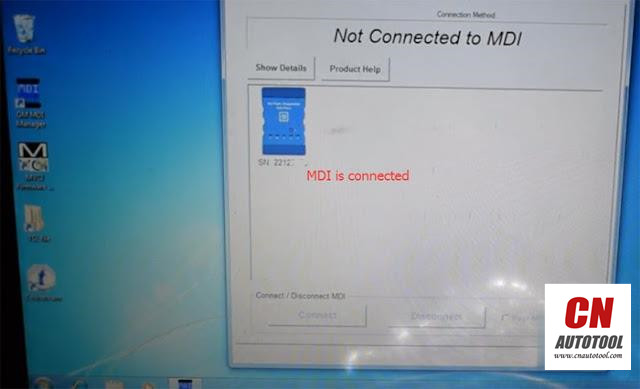
Now the MDI interface is connected
Run Techstream again
Choose MDI interface
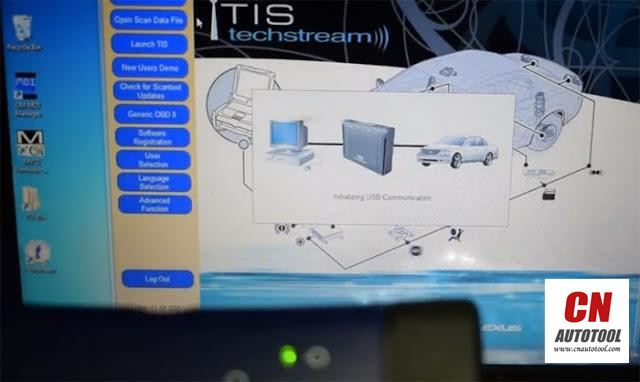
Initialize USB communication and connecting
Check the indicators on MDI adapter
Communication is built
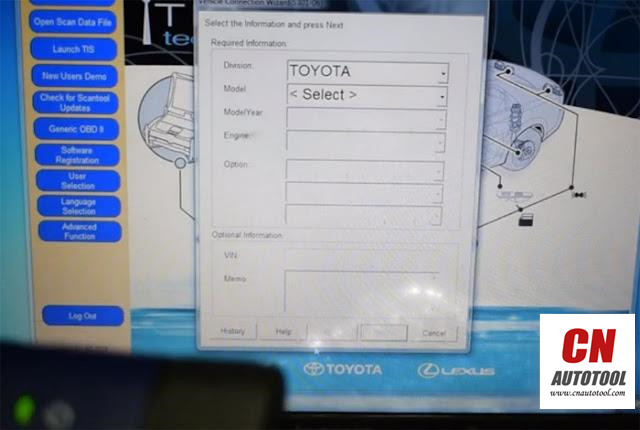
Select vehicle model and start diagnose Toyota.
Done.
www.cnautotool.com
Leave a Reply