Tips & Warning: Chrysler Diagnostics & Programming by MicroPod 2
What you can read in this post:
1.Solution to EVG7 Blue Screen working with SD Connect C4
2.Battery and hard disk disassembly and installation
3.Find out and use the on-screen keyboard.
4.The method to use EVG7 U disk.
Here we go one by one
Part 1: Solution to EVG7 Blue Screen working with SD Connect C4
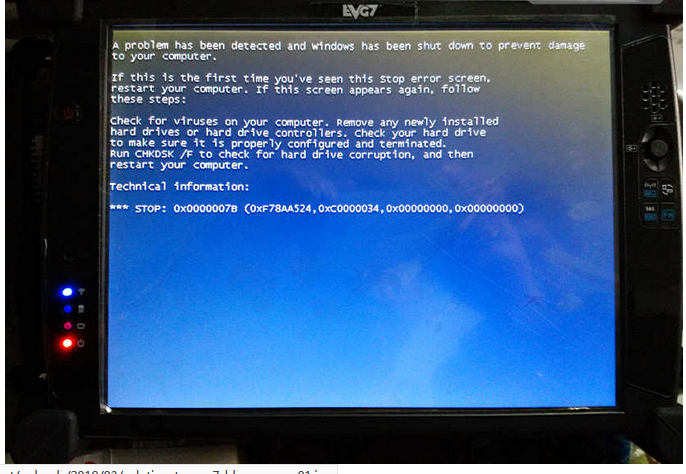
Look this image of EVG7 Blue Screen:
Solution:
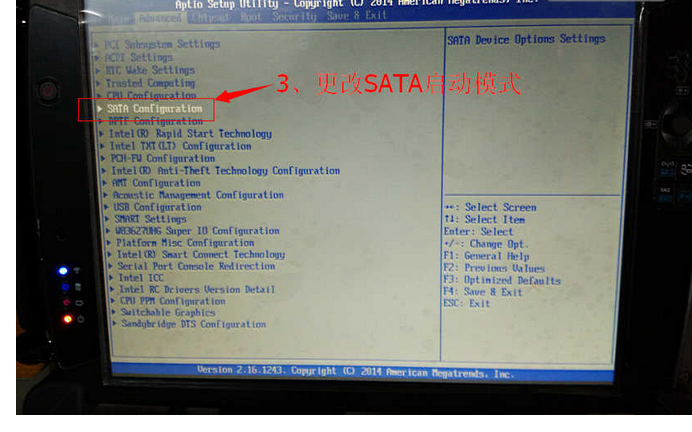
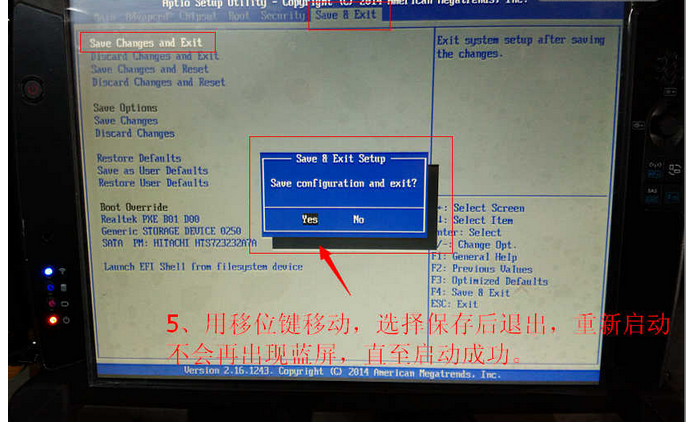
1.Press the “On” button to turn on machine. Then press “SAS” button to enter bios settings.
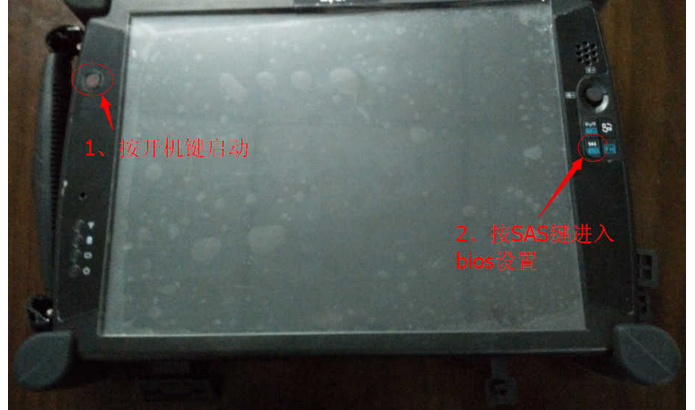
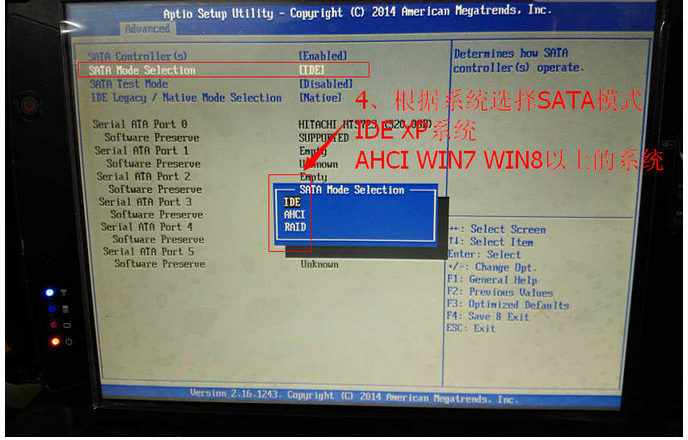
2.Change Sata startup mode.
3.IDE: for Windows XP
4.Use the shift key to save and exit.
Restart the EVG7 and the Blue screen will disappear.
Part 2: Battery and hard disk disassembly and installation
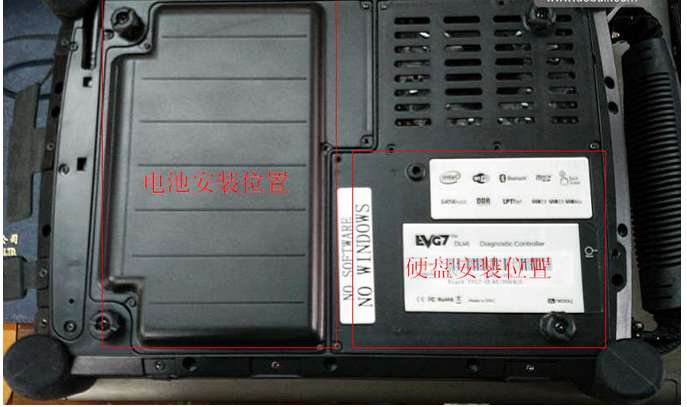
This upper left corner is the position of battery, the lower right corner is the position of the hard disk. Before
installing, please remove all the screws on the back cover.
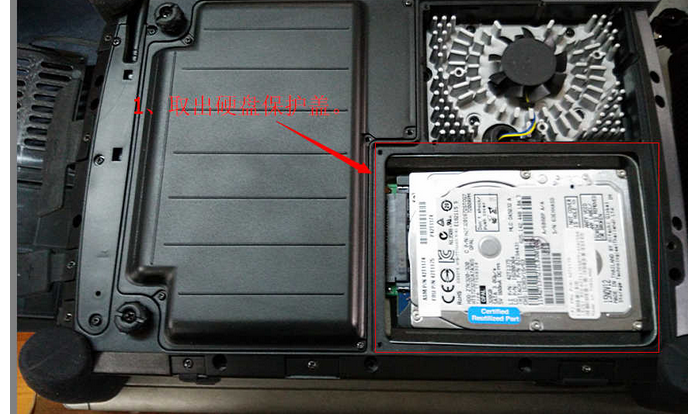
1.Hard disk disassembly and installation
Open the cover of hard disk.
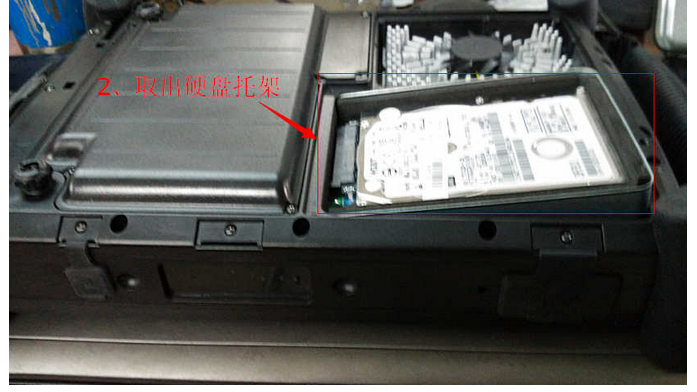
Remove the hard drive bay
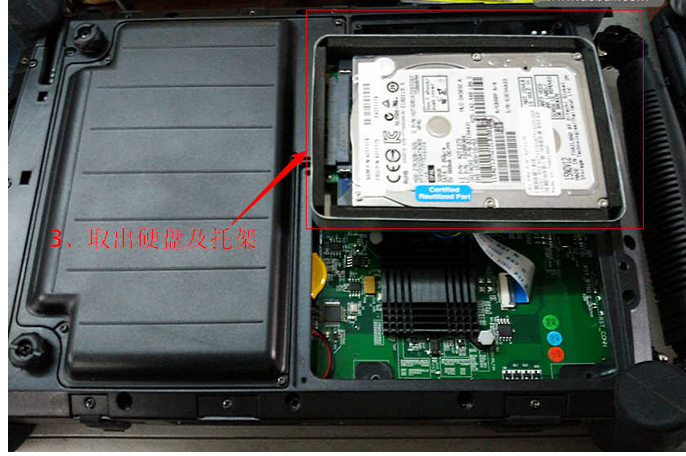
Take out the hard disk and the bay.
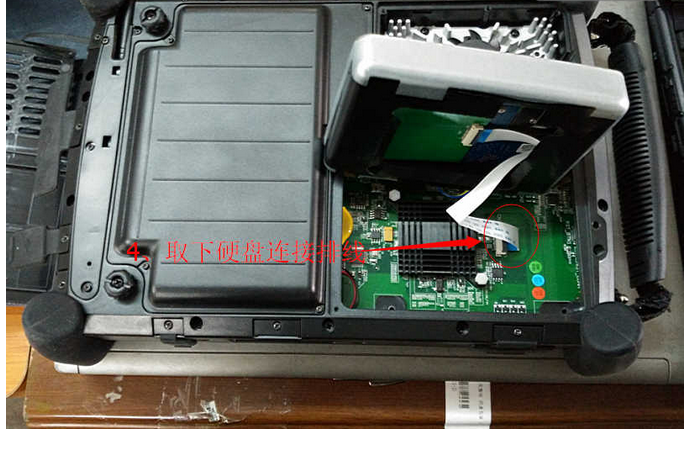
Remove the hard drive connection cable
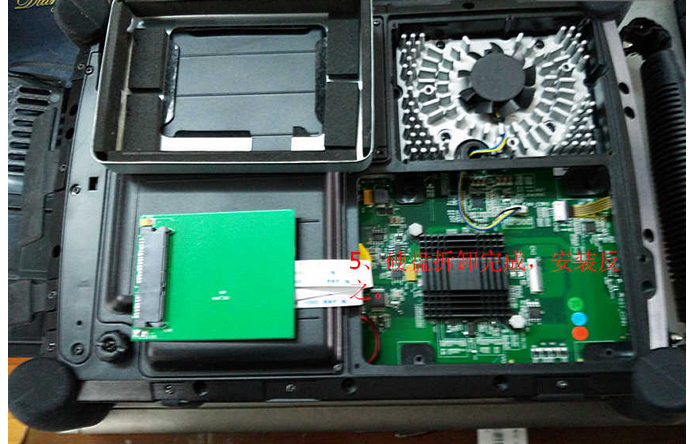
Done.
Now you know how to install back, right?
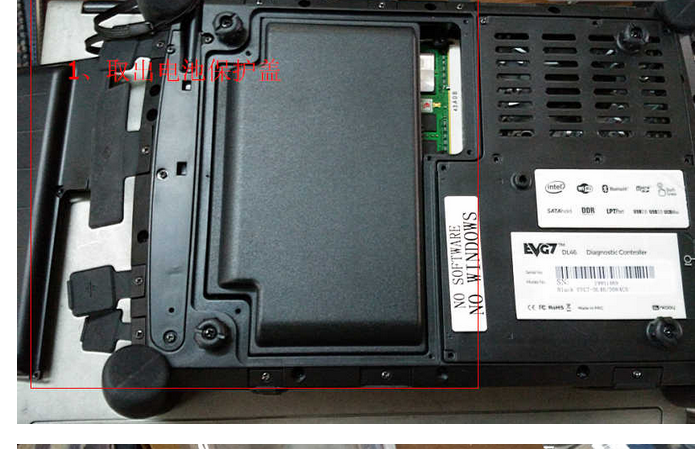
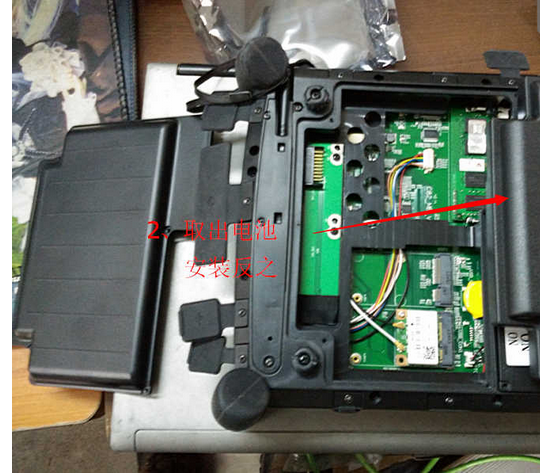
2.Battery disassembly and installation.
Disassembly:
Open the cover of the battery.
Take out the battery.
Installation:
Put back the battery and close the cover.
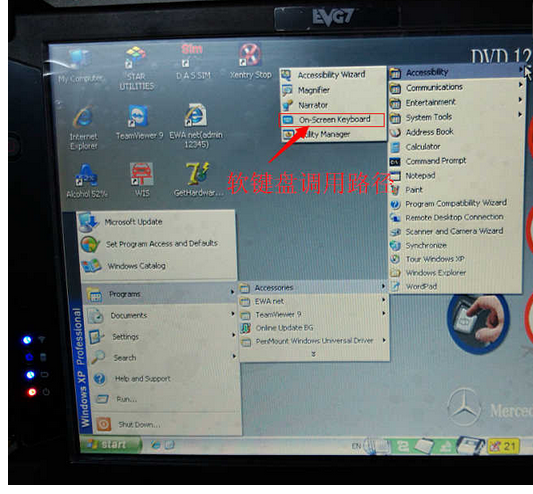
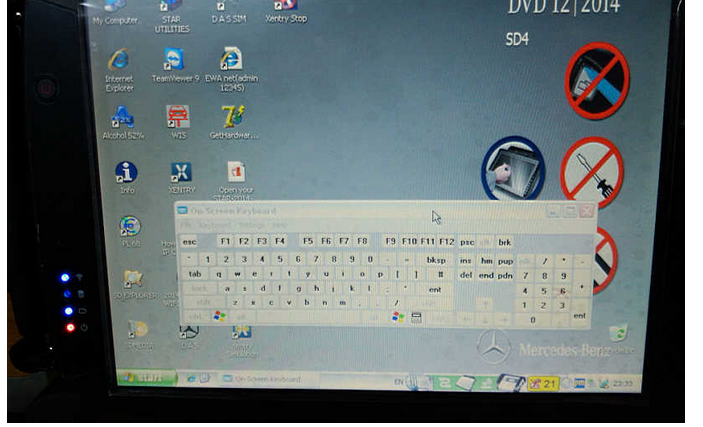
Part 3: Find out and use the on-screen keyboard.
Start – Programs – Accessories – Accessibility -On-screen keyboard.
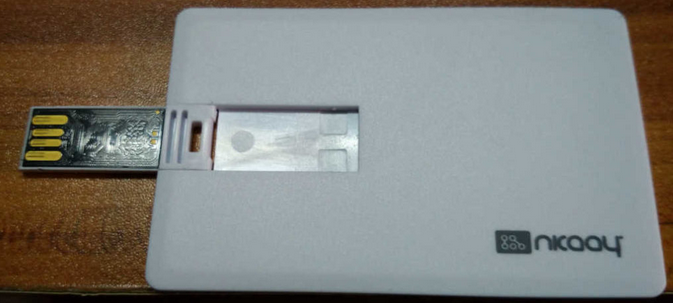
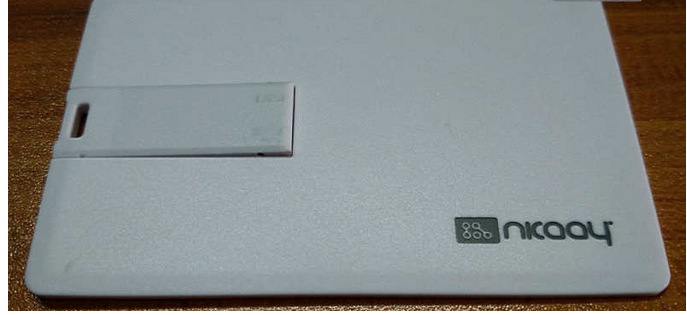
Part 4: The method to use EVG7 U disk.
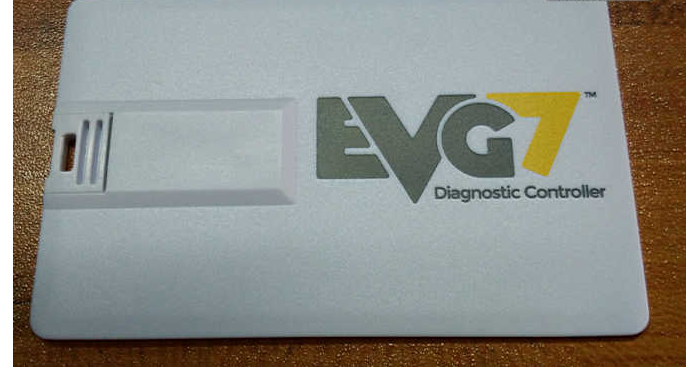
Remarks: There are stylus installation drivers and EVG7 hardware drivers in the mobile U disk. The drivers need to be installed manually
Leave a Reply